Latest products
absolut welding cart
by:KKR Solid Surface
2020-07-02
This Instructable will show you how I can use the beverage display car and turn it into a very useful work table with a light adjustable height welded surface.
I was lucky enough to buy a steel car to show absolute vodka at the liquor store.
I was told that it was made with half a tray of vodka, so I think it would be good for my lighter welding and construction activities.
I think this is something you can do with other types of carts.
I hope it will at least provide ideas for other people\'s projects.
The first thing I did was cut a hole in the heavy screen that made up the top of the trolley.
I made it big enough to hold the 80 cubic feet ar tank of my tig welder.
Once I cut out the screen, I remove the sharp edges on the parts I cut with a grinder.
It is not too difficult to lower the argon tank into the opening.
I don\'t run out of the tank that fast, so I just change the tank every 6 to 8 months.
The top of the welding table consists of two different materials.
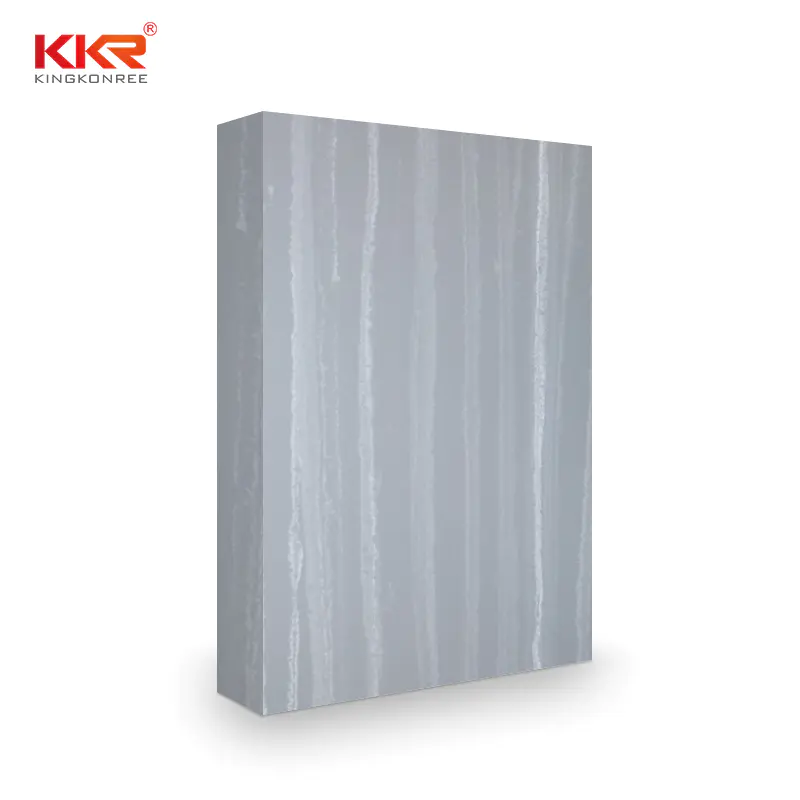
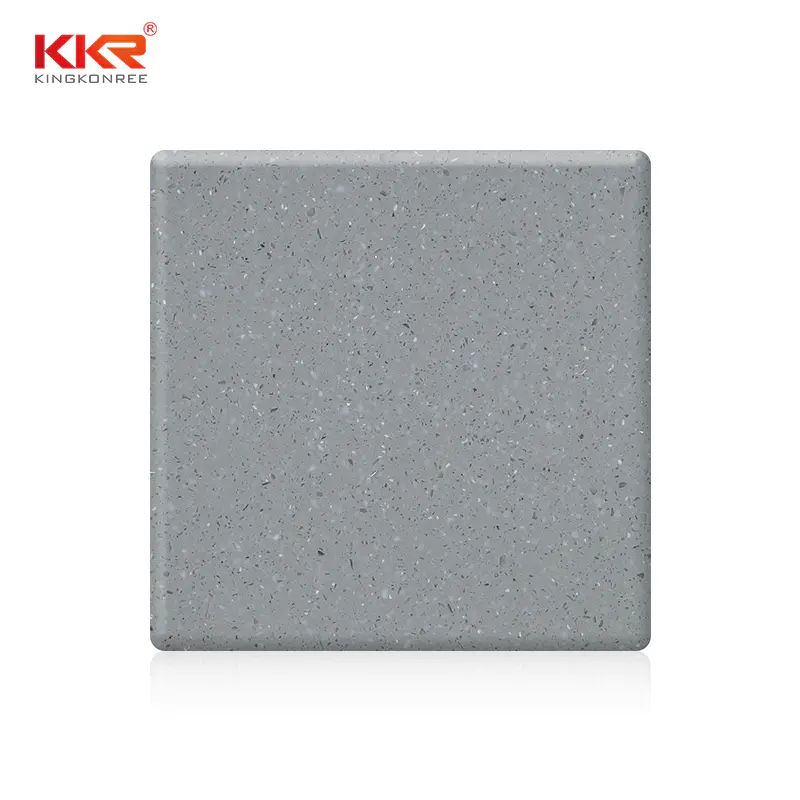
Half of the top is a steel plate of 3 \\ 8 inch thick and the other side is a solid surface material of 1/2 thick.
A lot of people usually call it Keli, but this is just a brand name for solid surface materials.
I decided to have the steel plate welding height adjustable so that I could work on projects with different heights and adjust the welding surface when needed.
To do this, I created a frame from 2x4 that will help to distribute the weight on the trolley and allow all of the 3/4 diameter-
The thread passes through the frame at four corners of the steel plate. The all-
The threads can be adjusted individually to make the welding surface level, or all four corners can be raised to 1 feet for the elevated welding surface.
I\'m sure I\'ll get a lot of comments about the bad idea of putting wood on the support rack.
This is a light welding and work table that is mainly used for light tig welding, so I am not too worried about the Sparks on the wood frame material.
The trolley I started using had a thin sheet of steel that formed a 2 inch lip on the top of the table.
I used two 2x4 stacked against each other and put it on the heavy wire rack at the top of the trolley.
I put another layer of 2x4 on the lower side of the shelf.
Next, I drilled 3/4 holes through 2x4 to make sure to center on the opening on the heavy wire shelf.
Make sure everything about you
Before connecting the bottom layer of 2x4 to the top two layers, the threads in all four holes were loose.
I connected the first two layers of 2x4 with the underlying layer (under the rack)with the 3-
Inch deck screws.
This holds the wooden frame firmly in place.
To help the lateral stability of the frame, I added two 2x3 wood beams.
It also helps to support solid surface materials.
I do this by cutting the cross sections to length, placing them on two external 2x4 running the trolley length, and then marking the outline of the cross section with a pencil.
Next, I picked up the marked pieces and cut the gap of the cross pieces on the band saw.
Screw the ends of each cross section into the stacked 2x4 and fix them firmly in place.
Make sure you
Frame pieces for 3-drill
Inch deck screws so you don\'t accidentally separate one of 2x4.
Place four leveling screws at each corner of the welded surface.
I\'ll start with two pieces of 3/4. inch all-
Then cut them in half so I have a 18 inch long one
There are threads in every corner of 3/8
Welded surface inch thick.
I used a sandknife.
Cut everything off.
Long line.
If I do it again, I will buy four out of two
Pieces of foot length, do not pass through the cutting.
This will cost more but will save a lot of time cutting and cleaning the cutting end.
I was careful to drill holes for all the people
Thread between the barbed wire at the top of the trolley.
So the steel plate can be lowered to lie flat on the frame where I recessed into the full frame.
Screw the nut into 2x4.
It also lets them not rotate when you adjust all
Thread up and down.
I used solid surface material in half of the top worksheet surface.
I asked people to tell me that I was crazy to do this because it might be too expensive and I can only say that I got it for free from someone else so the price was right, and easy to clean.
As an additional bonus, the solid surface material is 1/2-
Inch thick, 3/8 metal welding surface-inch thick.
By adjusting all-
I can make them match each other.
Top 24 inch by 36 inch, same size as steel welded surface.
I set the solid surface material on the wooden frame and then marked the area limit cut out by the ar tank screen.
I then made a radius between the two edges of the cut to match the outer radius of the argon tank.
I made this with a compass, but you can easily mark it out with the tank itself.
I cut off the tank area with a band saw.
I then smooth the cut edge with the spindle sander.
I use a silicone caulking agent as an adhesive to fix the solid surface material in place.
I put the silicone beads on the top of the 2x4 and then guided by the welded surface and carefully lowered them to the right position.
I set some weight on the top of the solid surface and put it for 24 hours so the silicone can be set up correctly.
The bottom shelf covers the entire bottom of the trolley.
I cut the solid surface material into the correct length and width.
28 inch metres wide. 75 inches long.
I cut the gap from the corner of the solid surface material 4 inch long 1-1
1/4 wide, allowing the angle column of the trolley and the support for cross support.
When I want to move the trolley, I can easily place the welder foot pedal, hose and ground clamp on the bottom shelf.
The bottom shelf already has a safety cap for welders and argon cans.
The car initially had four swivel casters, two of which had a swivel lock.
The hard plastic wheels on the casters slipped a bit on my concrete garage floor, so I decided to replace the casters with some fully locked swivel casters I had already prepared for another project.
The casters I put on the trolley have polyurethane wheels and when they are in a locked position they are really placed on the concrete floor.
They all have a rating of 300 pounds so I have enough capacity for what I do.
The hole pattern on the replacement caster is different from the hole pattern on the original caster, so I do need to drill 3 new holes on the plate at the bottom of the trolley.
When unlocked, the cart can scroll easily and freely.
They almost rolled too easily.
I have the same casters on another Workbench/trolley.
I moved once while rearranging the garage and forgot to lock any of the casters.
I don\'t want to admit it, but it starts rolling in my garage.
With ball bearings in the casters and wheel material, I didn\'t even hear the rolling sound.
I found it about 20 feet in my driveway.
Now that the shopping cart is complete, you can put the welding supplies in the right place and start the next item.
I can\'t tell you how good it is to use this new welding Carter compared to the settings I used before.
I can roll it anywhere I need in the garage, lock the casters, pry the top with full lever
Thread adjustment (if needed)
Start welding.
You may not be able to find one of these beverage display cars, but you may find something similar to that works just as well for you.
I would like to know if anyone else has made the work table or the welding table in one way or another.
Please let me know or post some pictures.
Better yet, make a note for it.
I was lucky enough to buy a steel car to show absolute vodka at the liquor store.
I was told that it was made with half a tray of vodka, so I think it would be good for my lighter welding and construction activities.
I think this is something you can do with other types of carts.
I hope it will at least provide ideas for other people\'s projects.
The first thing I did was cut a hole in the heavy screen that made up the top of the trolley.
I made it big enough to hold the 80 cubic feet ar tank of my tig welder.
Once I cut out the screen, I remove the sharp edges on the parts I cut with a grinder.
It is not too difficult to lower the argon tank into the opening.
I don\'t run out of the tank that fast, so I just change the tank every 6 to 8 months.
The top of the welding table consists of two different materials.
Half of the top is a steel plate of 3 \\ 8 inch thick and the other side is a solid surface material of 1/2 thick.
A lot of people usually call it Keli, but this is just a brand name for solid surface materials.
I decided to have the steel plate welding height adjustable so that I could work on projects with different heights and adjust the welding surface when needed.
To do this, I created a frame from 2x4 that will help to distribute the weight on the trolley and allow all of the 3/4 diameter-
The thread passes through the frame at four corners of the steel plate. The all-
The threads can be adjusted individually to make the welding surface level, or all four corners can be raised to 1 feet for the elevated welding surface.
I\'m sure I\'ll get a lot of comments about the bad idea of putting wood on the support rack.
This is a light welding and work table that is mainly used for light tig welding, so I am not too worried about the Sparks on the wood frame material.
The trolley I started using had a thin sheet of steel that formed a 2 inch lip on the top of the table.
I used two 2x4 stacked against each other and put it on the heavy wire rack at the top of the trolley.
I put another layer of 2x4 on the lower side of the shelf.
Next, I drilled 3/4 holes through 2x4 to make sure to center on the opening on the heavy wire shelf.
Make sure everything about you
Before connecting the bottom layer of 2x4 to the top two layers, the threads in all four holes were loose.
I connected the first two layers of 2x4 with the underlying layer (under the rack)with the 3-
Inch deck screws.
This holds the wooden frame firmly in place.
To help the lateral stability of the frame, I added two 2x3 wood beams.
It also helps to support solid surface materials.
I do this by cutting the cross sections to length, placing them on two external 2x4 running the trolley length, and then marking the outline of the cross section with a pencil.
Next, I picked up the marked pieces and cut the gap of the cross pieces on the band saw.
Screw the ends of each cross section into the stacked 2x4 and fix them firmly in place.
Make sure you
Frame pieces for 3-drill
Inch deck screws so you don\'t accidentally separate one of 2x4.
Place four leveling screws at each corner of the welded surface.
I\'ll start with two pieces of 3/4. inch all-
Then cut them in half so I have a 18 inch long one
There are threads in every corner of 3/8
Welded surface inch thick.
I used a sandknife.
Cut everything off.
Long line.
If I do it again, I will buy four out of two
Pieces of foot length, do not pass through the cutting.
This will cost more but will save a lot of time cutting and cleaning the cutting end.
I was careful to drill holes for all the people
Thread between the barbed wire at the top of the trolley.
So the steel plate can be lowered to lie flat on the frame where I recessed into the full frame.
Screw the nut into 2x4.
It also lets them not rotate when you adjust all
Thread up and down.
I used solid surface material in half of the top worksheet surface.
I asked people to tell me that I was crazy to do this because it might be too expensive and I can only say that I got it for free from someone else so the price was right, and easy to clean.
As an additional bonus, the solid surface material is 1/2-
Inch thick, 3/8 metal welding surface-inch thick.
By adjusting all-
I can make them match each other.
Top 24 inch by 36 inch, same size as steel welded surface.
I set the solid surface material on the wooden frame and then marked the area limit cut out by the ar tank screen.
I then made a radius between the two edges of the cut to match the outer radius of the argon tank.
I made this with a compass, but you can easily mark it out with the tank itself.
I cut off the tank area with a band saw.
I then smooth the cut edge with the spindle sander.
I use a silicone caulking agent as an adhesive to fix the solid surface material in place.
I put the silicone beads on the top of the 2x4 and then guided by the welded surface and carefully lowered them to the right position.
I set some weight on the top of the solid surface and put it for 24 hours so the silicone can be set up correctly.
The bottom shelf covers the entire bottom of the trolley.
I cut the solid surface material into the correct length and width.
28 inch metres wide. 75 inches long.
I cut the gap from the corner of the solid surface material 4 inch long 1-1
1/4 wide, allowing the angle column of the trolley and the support for cross support.
When I want to move the trolley, I can easily place the welder foot pedal, hose and ground clamp on the bottom shelf.
The bottom shelf already has a safety cap for welders and argon cans.
The car initially had four swivel casters, two of which had a swivel lock.
The hard plastic wheels on the casters slipped a bit on my concrete garage floor, so I decided to replace the casters with some fully locked swivel casters I had already prepared for another project.
The casters I put on the trolley have polyurethane wheels and when they are in a locked position they are really placed on the concrete floor.
They all have a rating of 300 pounds so I have enough capacity for what I do.
The hole pattern on the replacement caster is different from the hole pattern on the original caster, so I do need to drill 3 new holes on the plate at the bottom of the trolley.
When unlocked, the cart can scroll easily and freely.
They almost rolled too easily.
I have the same casters on another Workbench/trolley.
I moved once while rearranging the garage and forgot to lock any of the casters.
I don\'t want to admit it, but it starts rolling in my garage.
With ball bearings in the casters and wheel material, I didn\'t even hear the rolling sound.
I found it about 20 feet in my driveway.
Now that the shopping cart is complete, you can put the welding supplies in the right place and start the next item.
I can\'t tell you how good it is to use this new welding Carter compared to the settings I used before.
I can roll it anywhere I need in the garage, lock the casters, pry the top with full lever
Thread adjustment (if needed)
Start welding.
You may not be able to find one of these beverage display cars, but you may find something similar to that works just as well for you.
I would like to know if anyone else has made the work table or the welding table in one way or another.
Please let me know or post some pictures.
Better yet, make a note for it.
Custom message